Creating/Deleting Workspaces
A workspace is a resource category that represents a hierarchical relationship of resources. A workspace can contain resources such as clusters, namespaces, and registries. Typically, each workspace corresponds to a project and different resources can be allocated, and different users and user groups can be assigned to each workspace.
Follow the steps below to create a workspace:
-
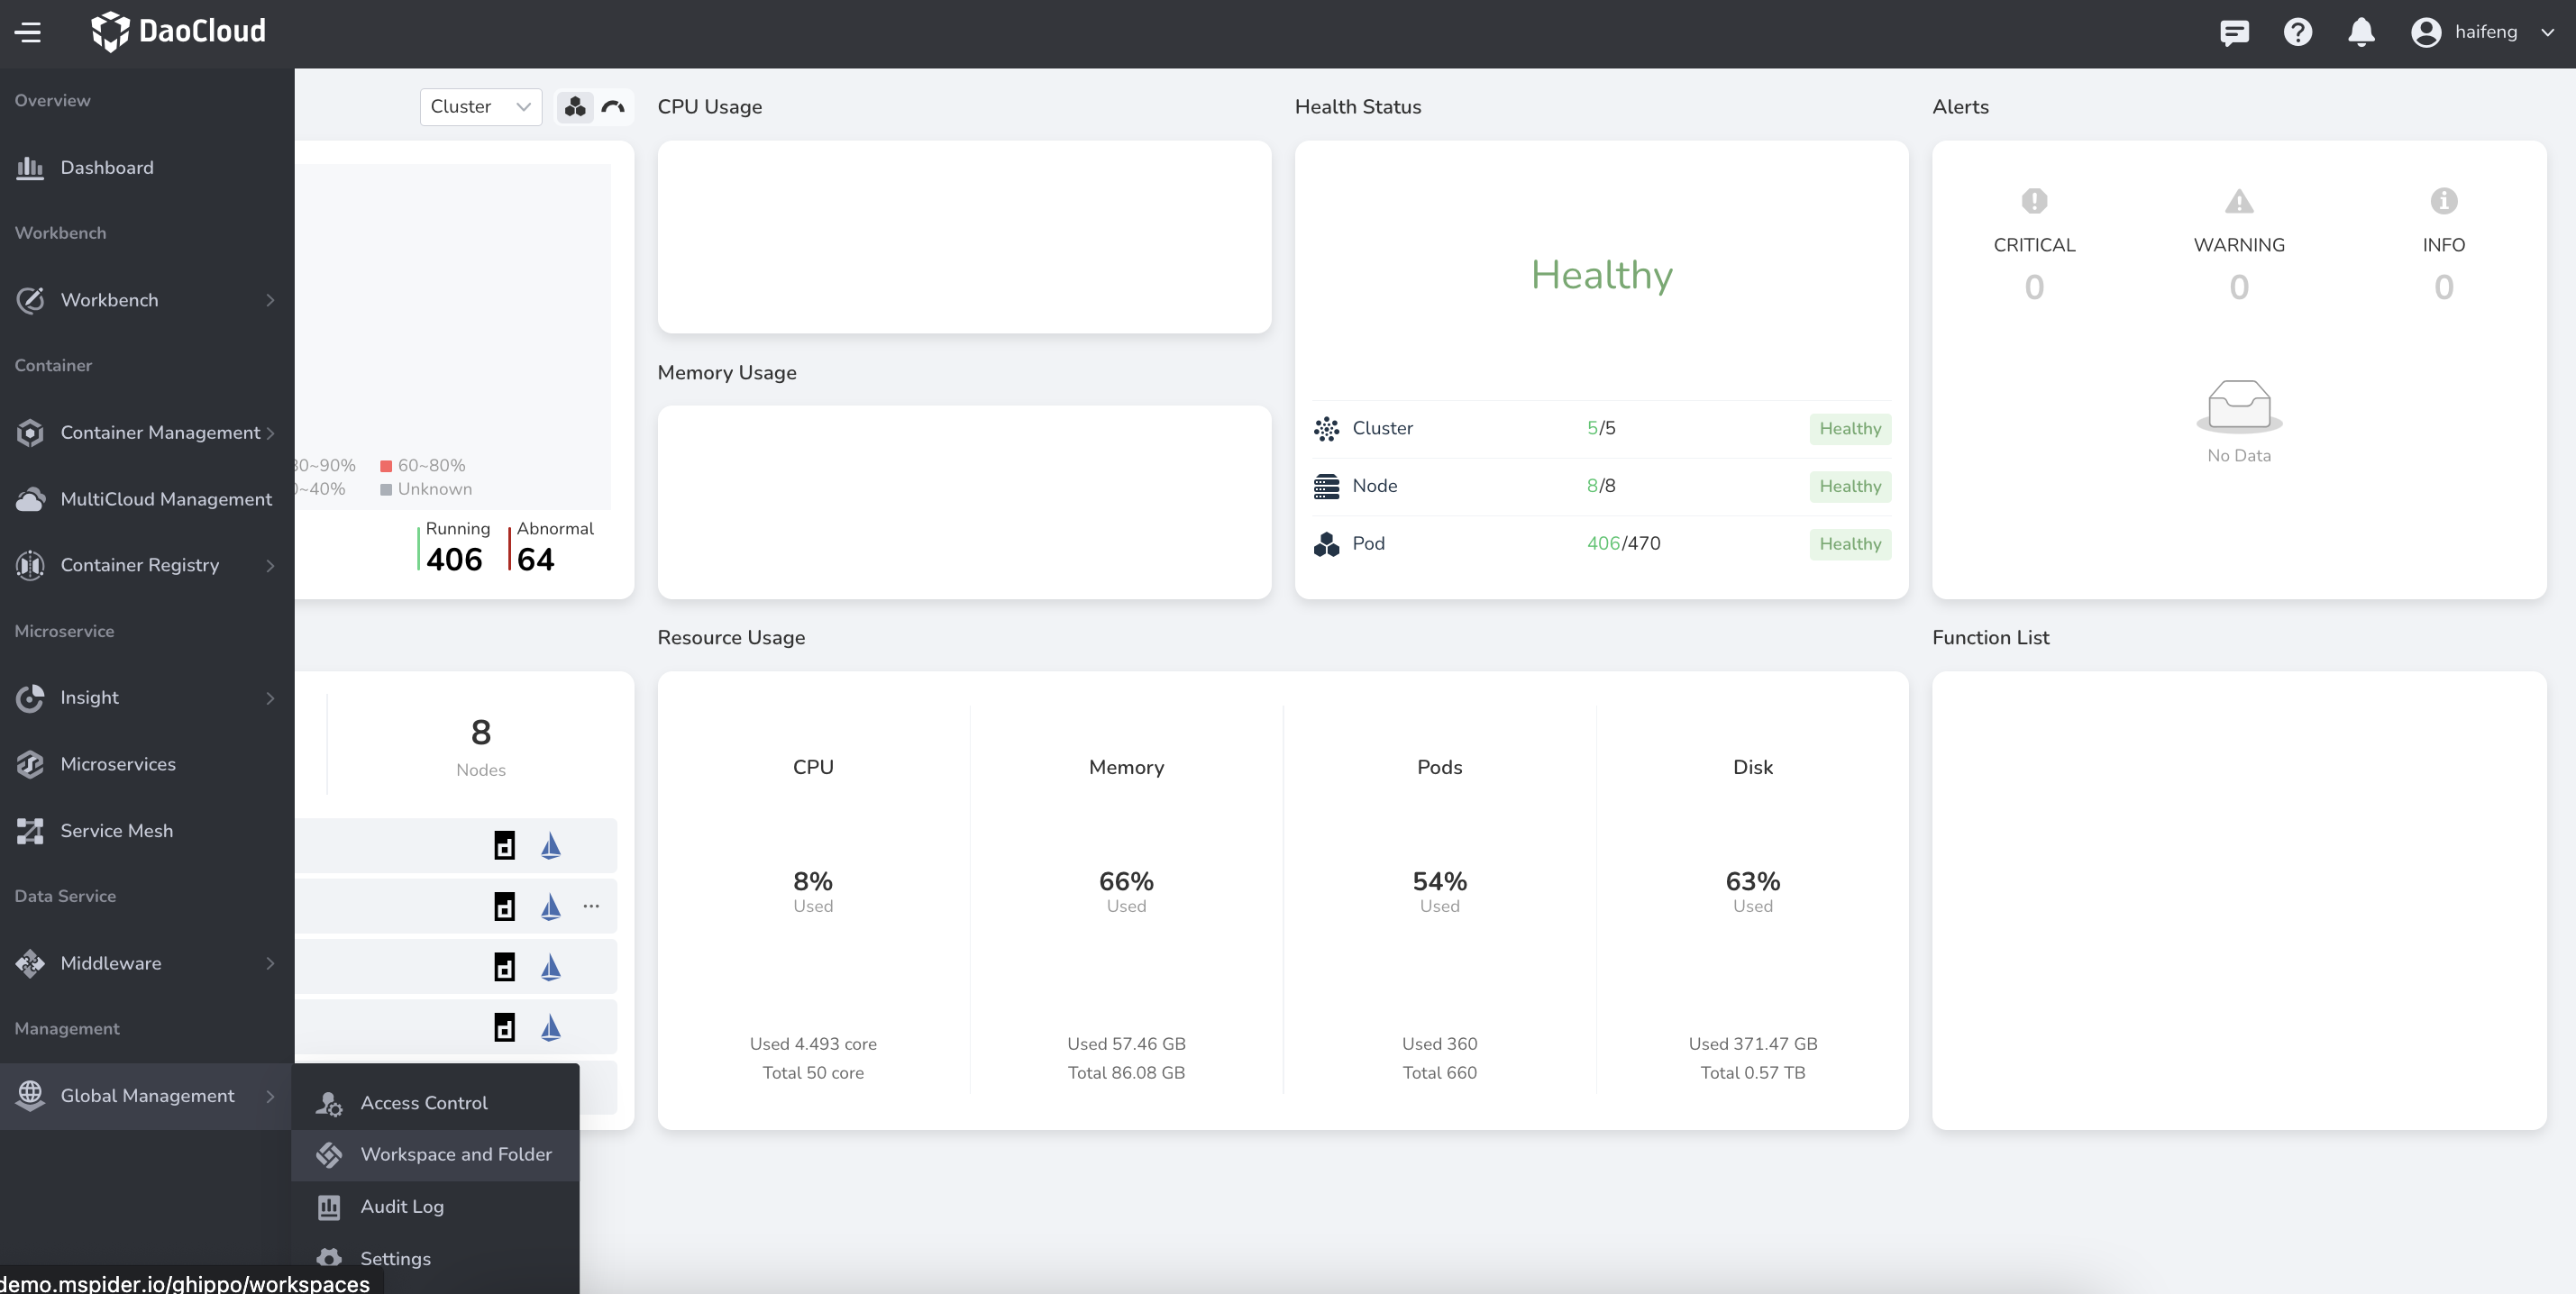
Log in to DCE 5.0 with a user account having the admin/folder admin role. Click Global Management -> Workspace and Folder at the bottom of the left navigation bar.
-
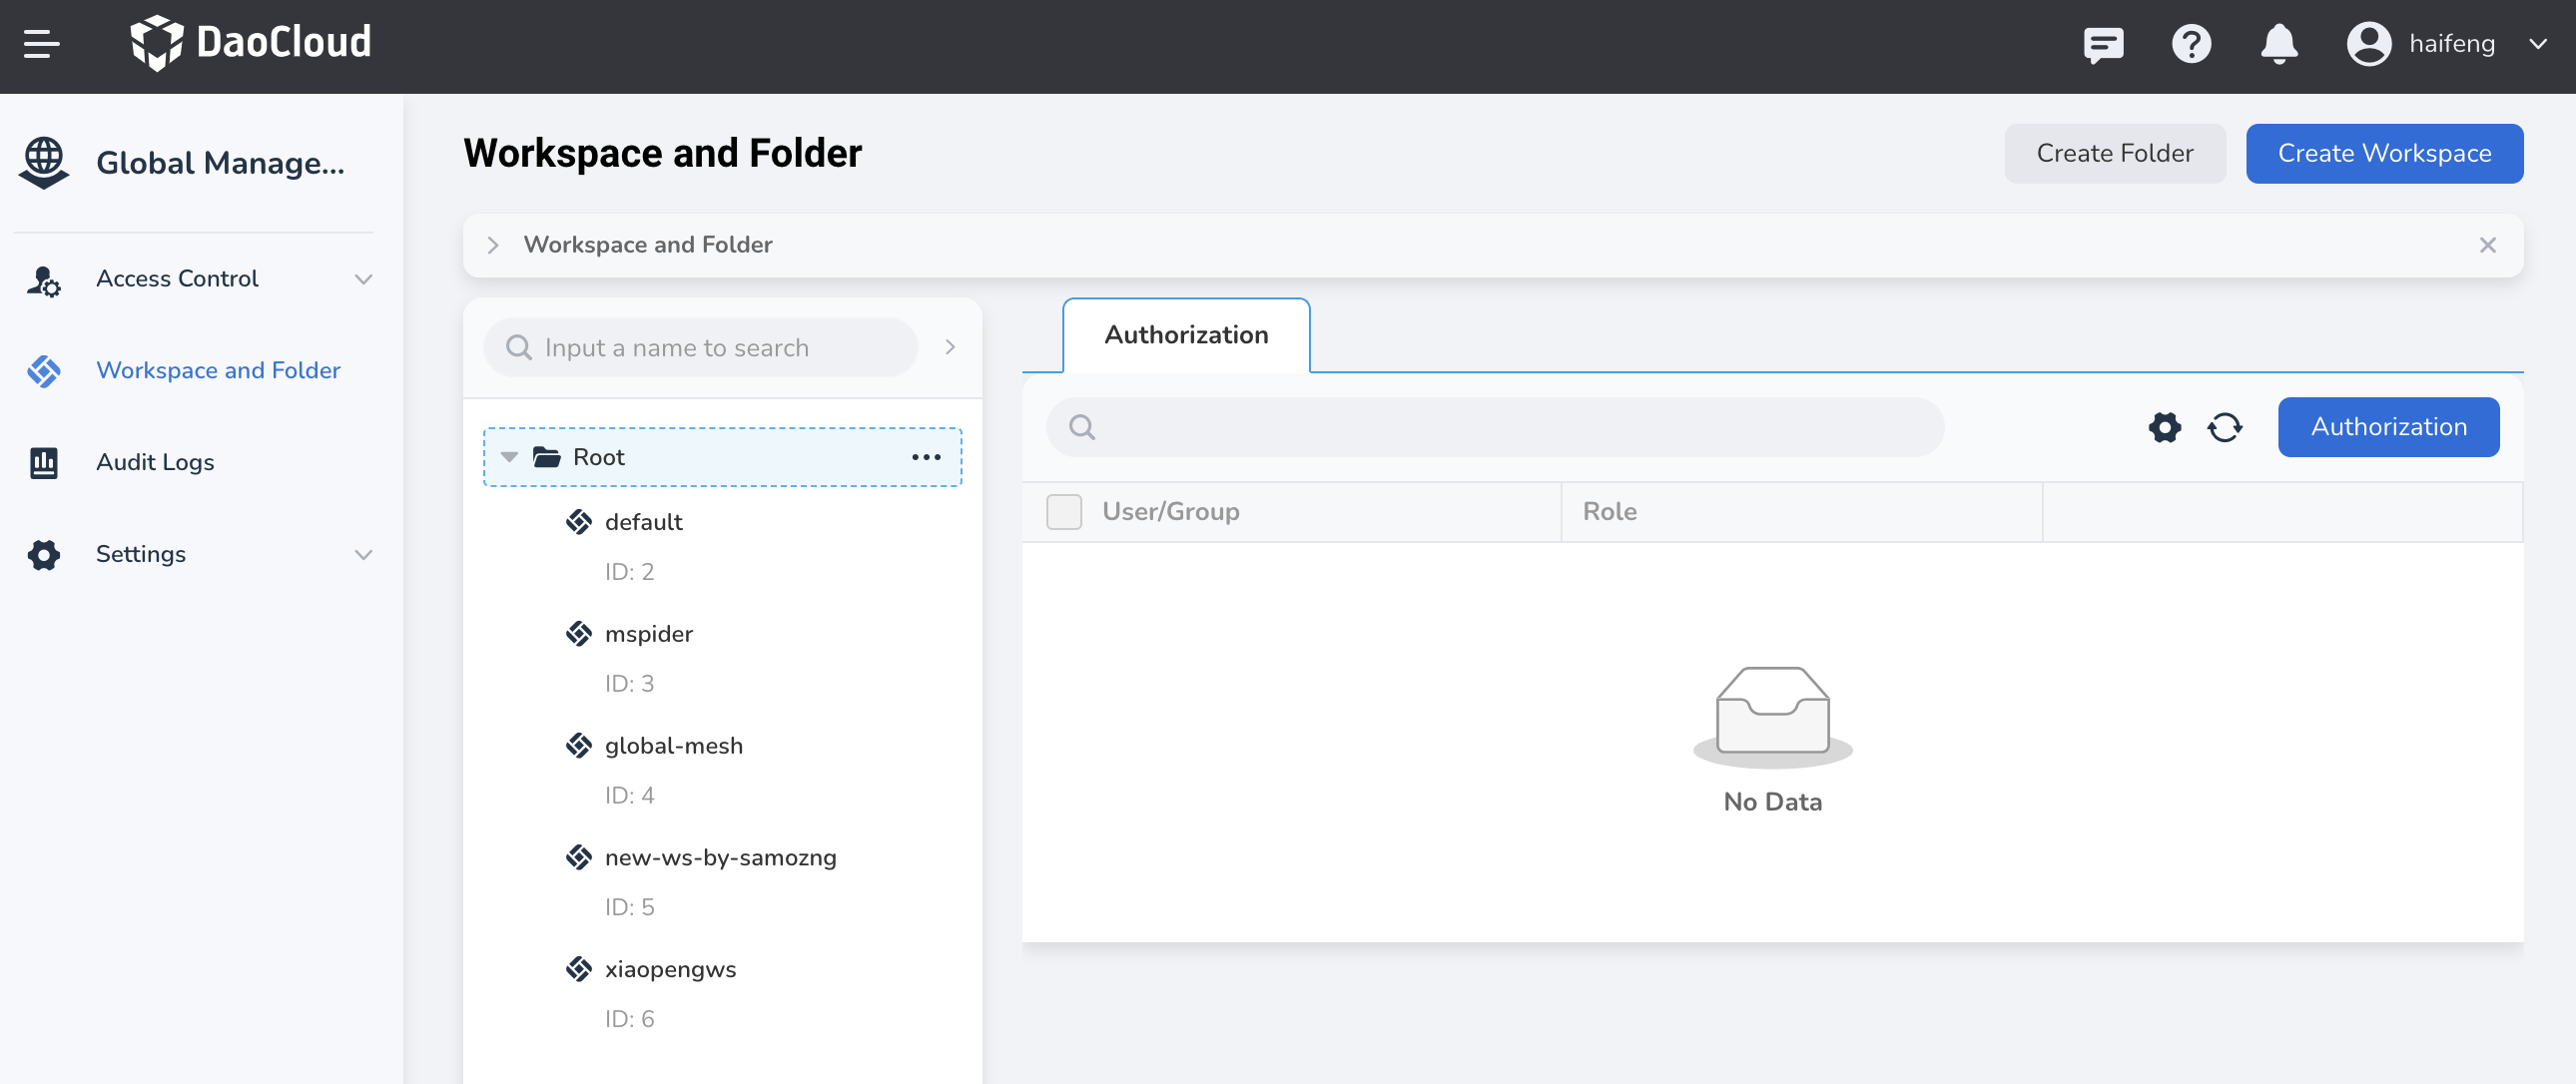
Click the Create Workspace button in the top right corner.
-
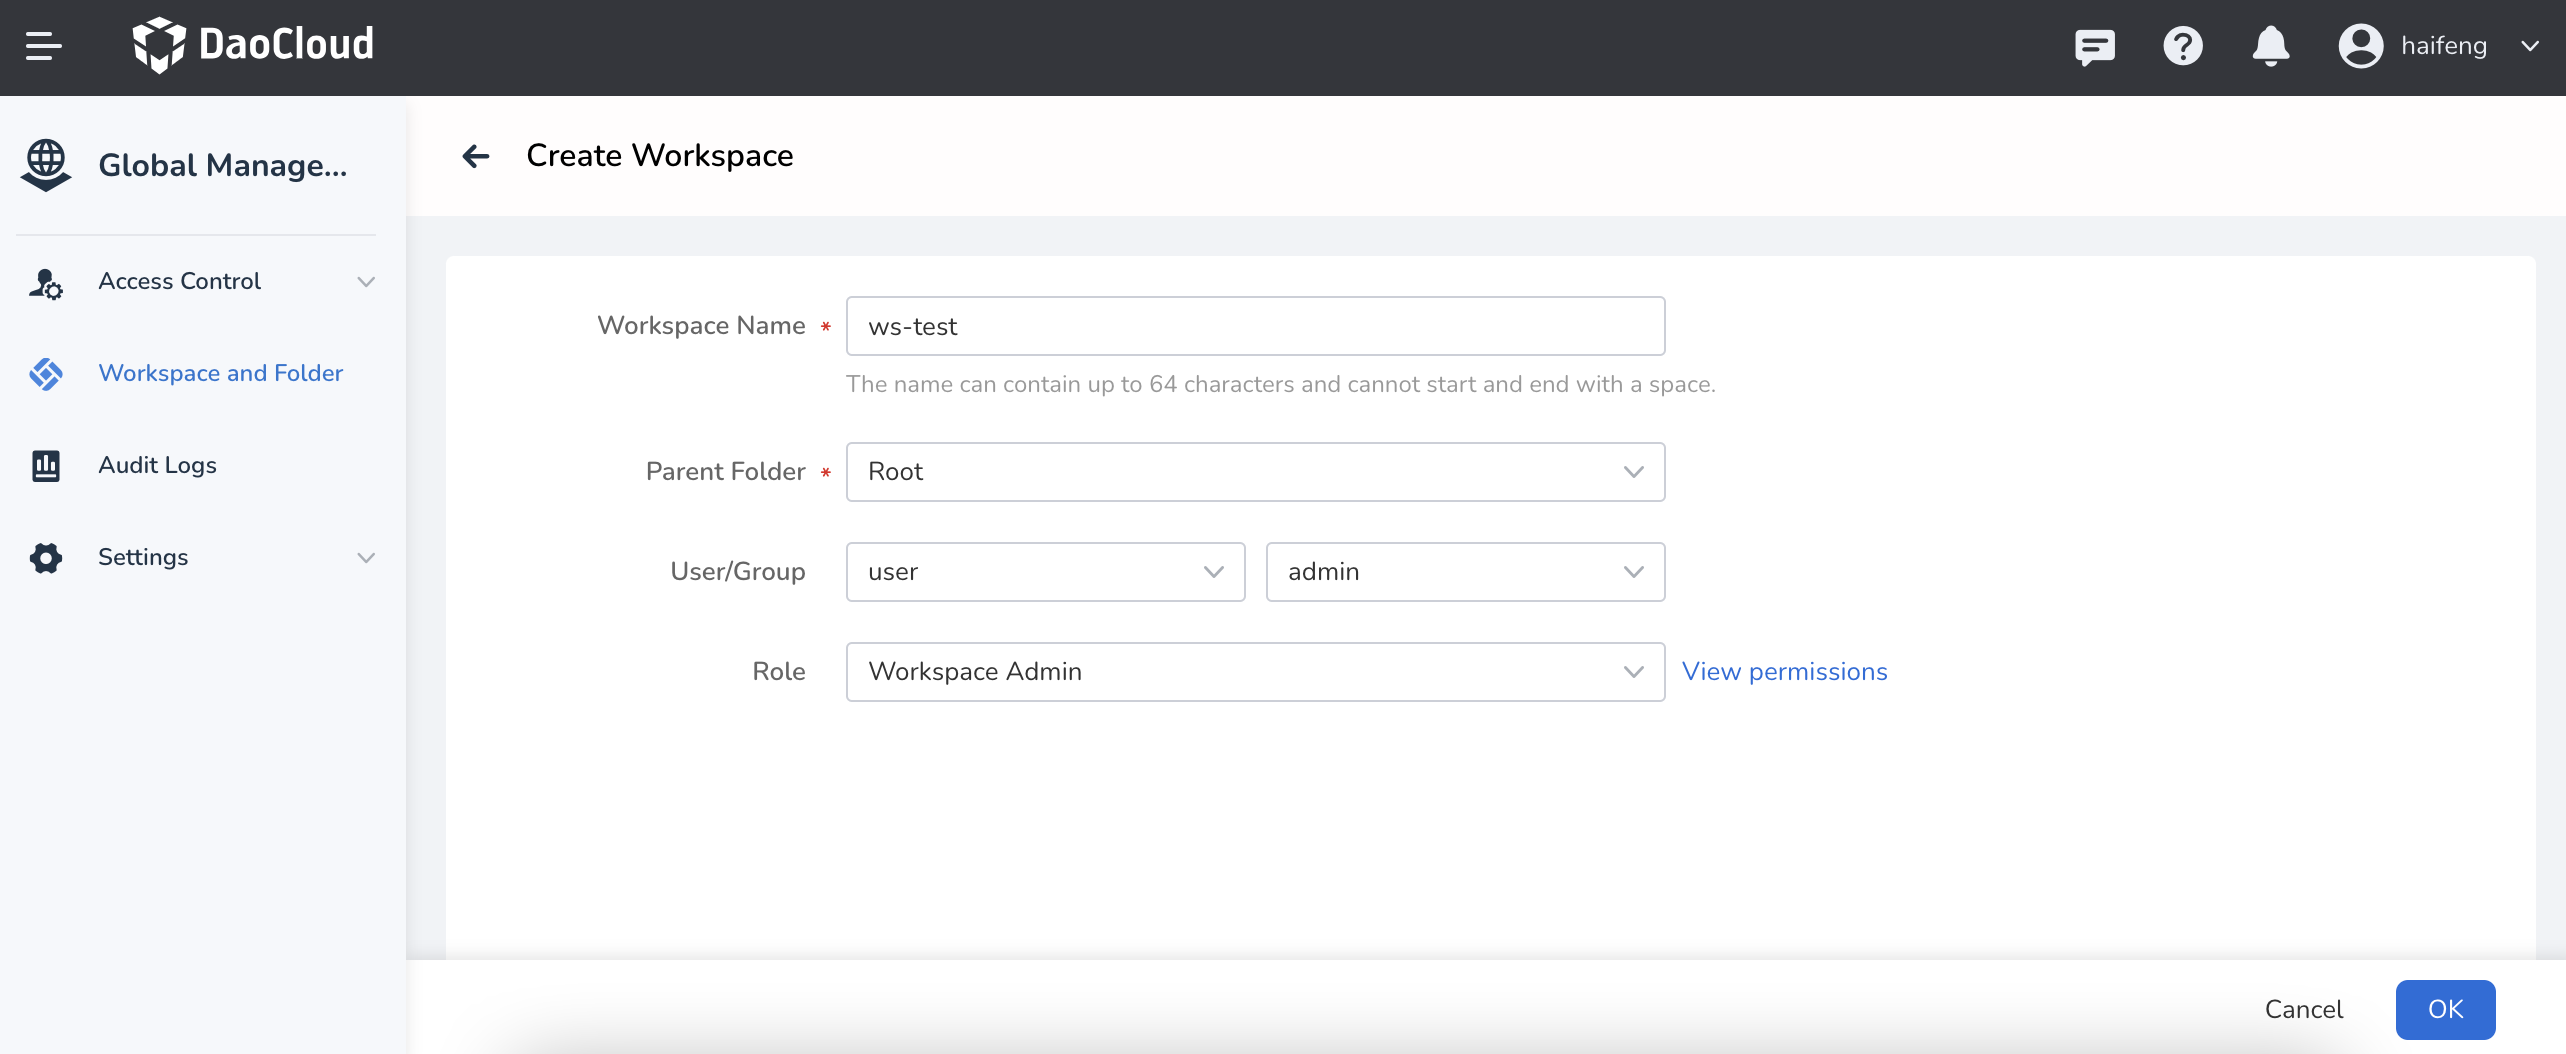
Fill in the workspace name, folder assignment, and other information, then click OK to complete creating the workspace.
Tip
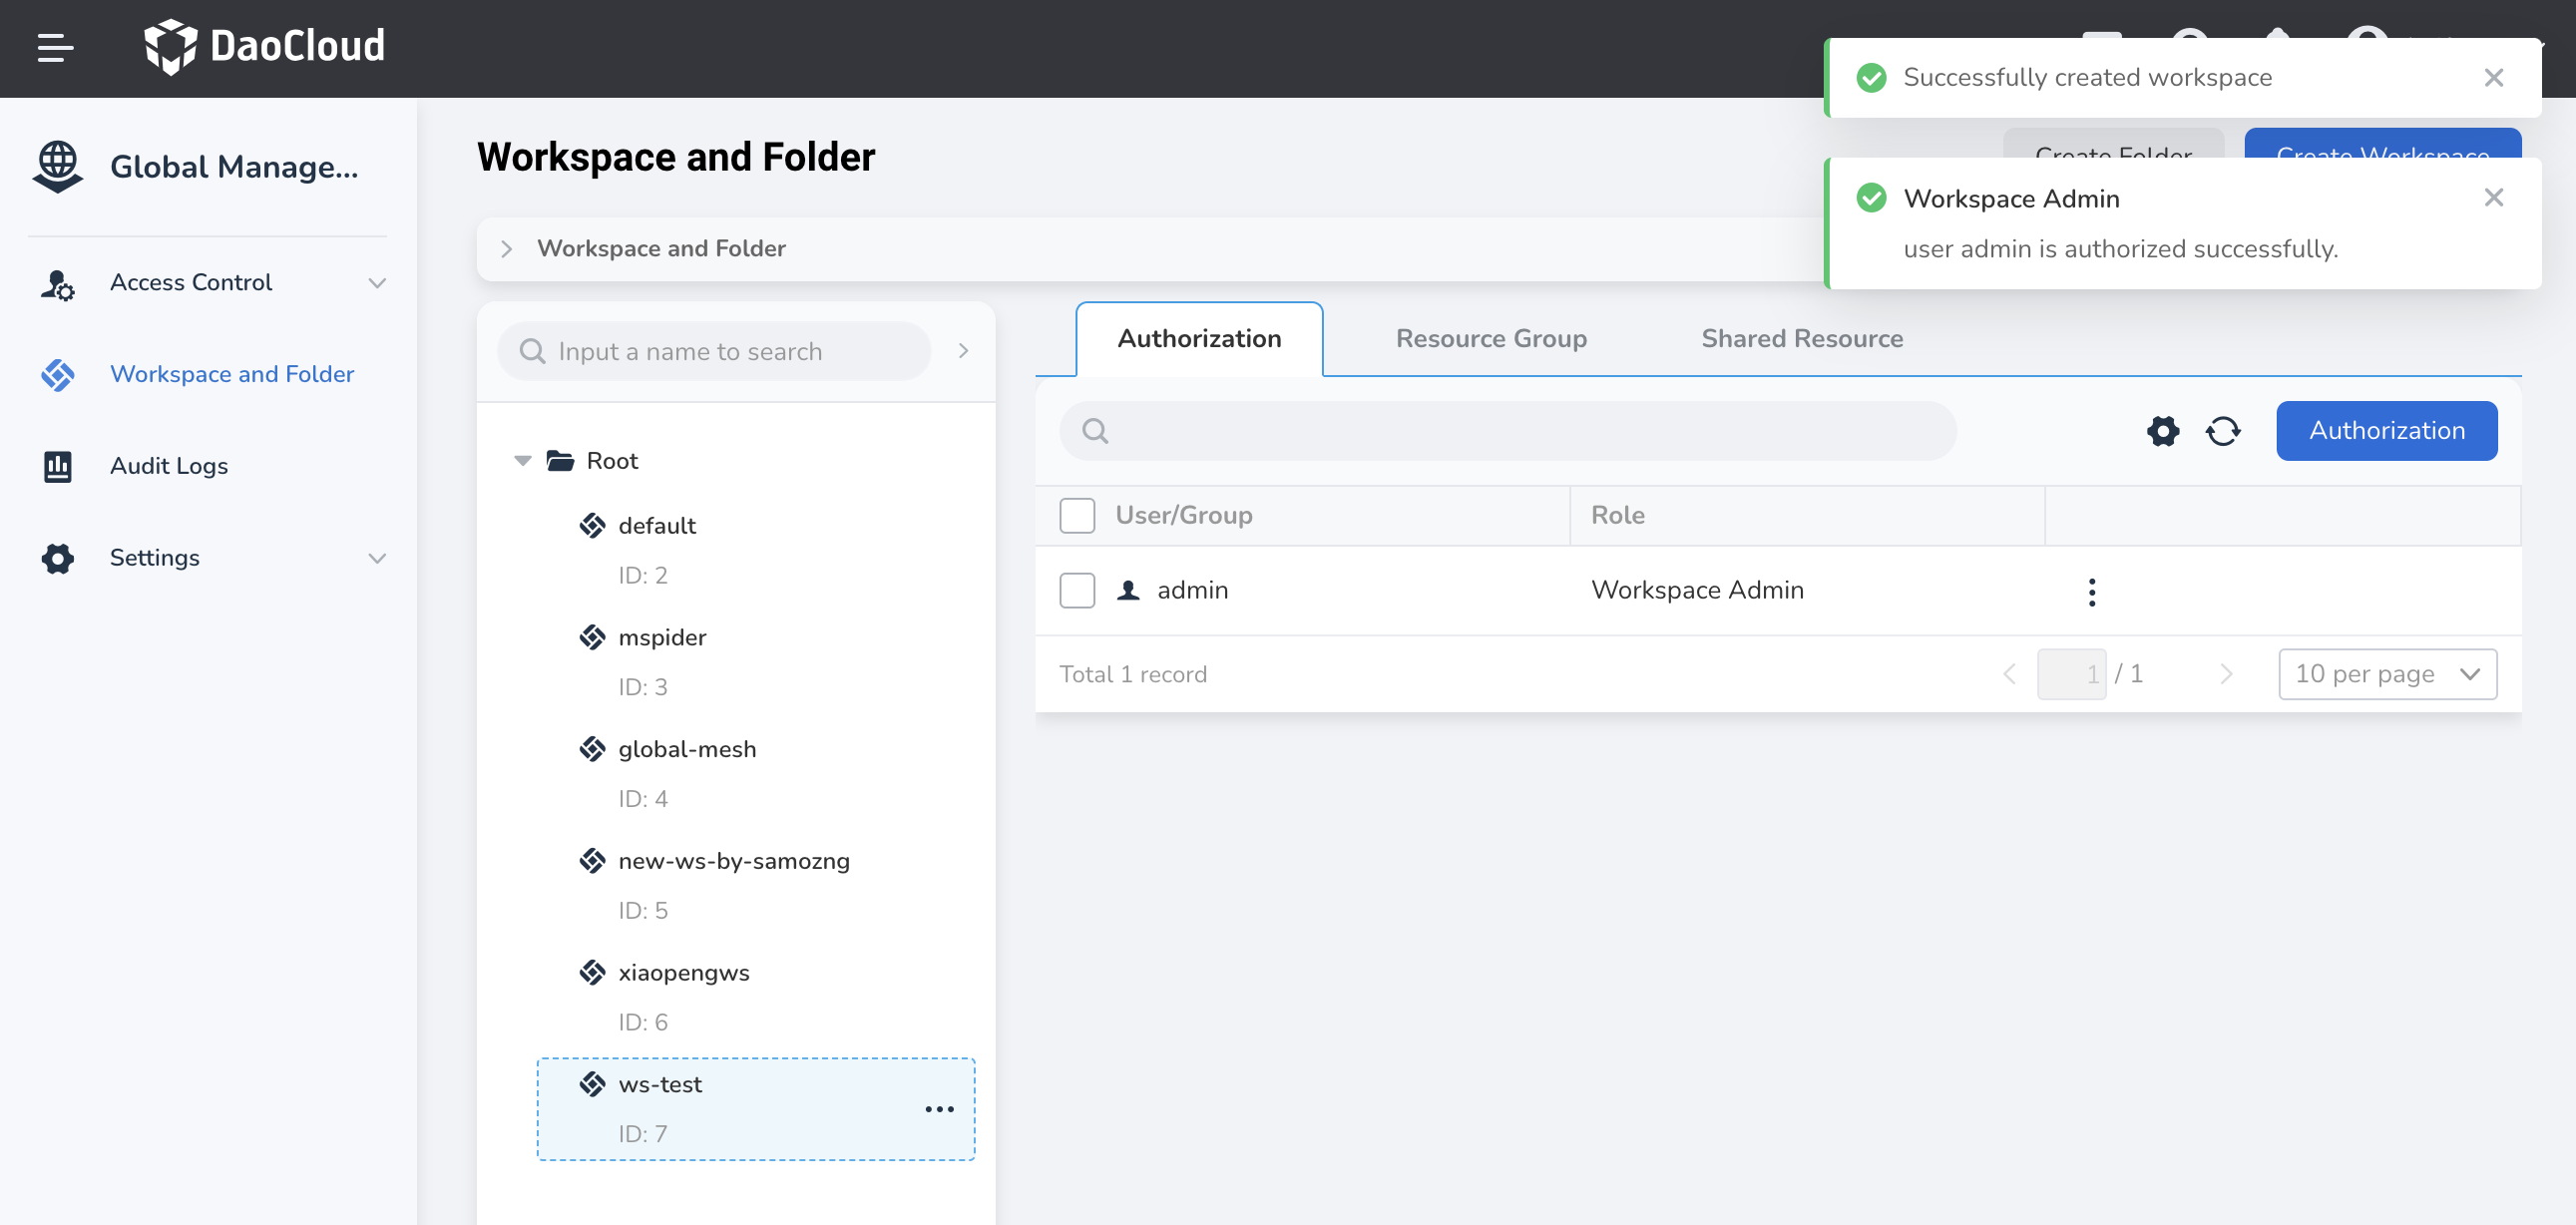
After successful creation, the workspace name will be displayed in the left tree structure, represented by different icons for folders and workspaces.
Note
To edit or delete a specific workspace or folder, select it and click ... on the right side.
-
If resource groups and shared resources have resources under the workspace, the workspace cannot be deleted. All resources need to be unbound before deletion of the workspace.
-
If Microservices Engine has Integrated Registry under the workspace, the workspace cannot be deleted. Integrated Registry needs to be removed before deletion of the workspace.
-
If Container Registry has Registry Space or Integrated Registry under the workspace, the workspace cannot be deleted. Registry Space needs to be removed, and Integrated Registry needs to be deleted before deletion of the workspace.